Sunday, October 31, 2010

How To: Paperclip Necklace

As said before in this post, I am always intrigued by items in fashion that I have never seen before. So when I found the picture below floating around the internet the other day, I immediately saved it and thought, "I wonder if I could make that." I did find a place to buy that exact necklace here, if you'd like. However, if you like a challenge and have some extra paperclips laying around, I would give it a shot!


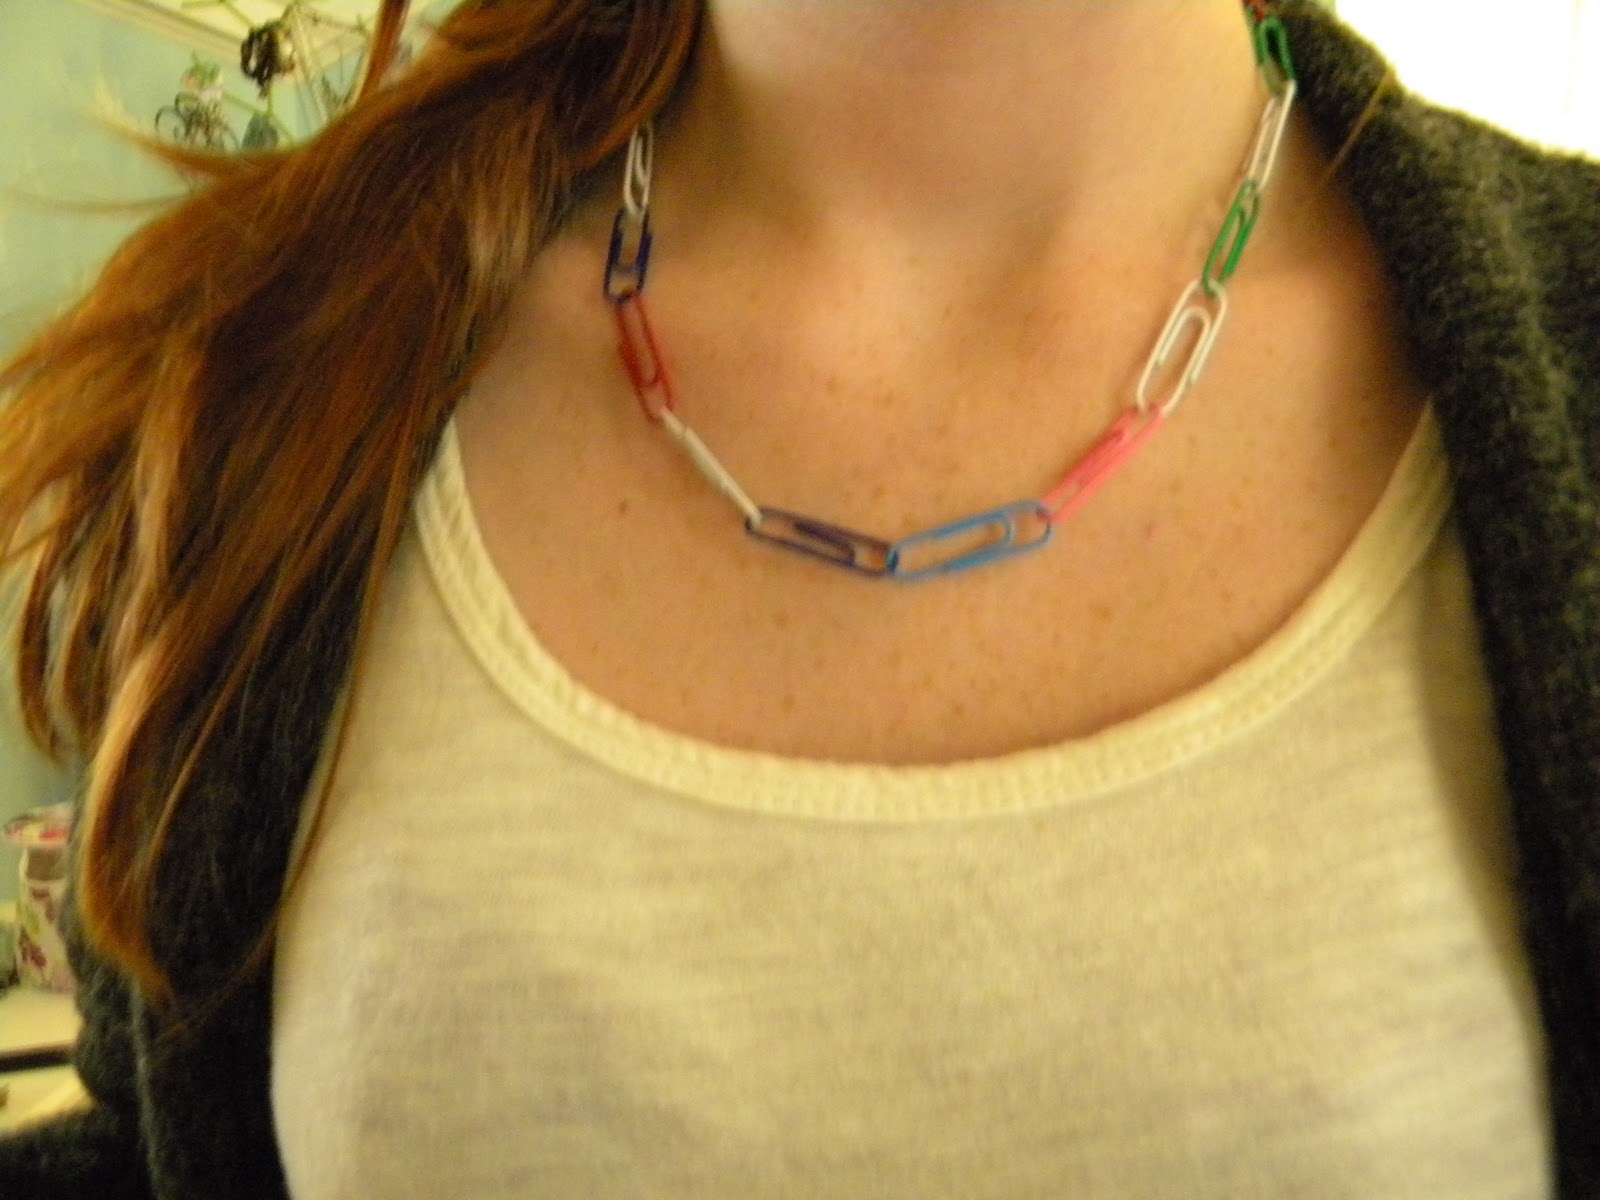
Here is my final product:


How to make this paperclip necklace:
1. Start by stringing together about 18 paper clips. This will serve as your shortest necklace chain out of the ultimate 3. I used 18 paper clips, but you can change this if it does not flatter you as well. I judged mine by hanging it around my neck and having it fall about a two inches below my collar bones.
TIP: If you are using multi colored paper clips like me, use the same color at each end of the necklace that will work as a clasp to avoid confusion.


TIP: For the next few steps, I simply taped the necklace on my wall to work with it.

2. Make another string of paperclips for your medium length chain of the necklace but use the same number of paper clips in this chain as your short one. I used 18 paper clips again.

3. Connect the second chain onto the first one by sliding its end paper clips onto the second paperclip of the original one.


4. Now, make sixteen sets of two paper clips and attach them between the two chains starting from the center and working outwards. Once you finish connecting these double paper clips, use two single paper clips on each outer edge since the space to fill is smaller than that in the center.


5. Make a third, longest, chain of paper clips with FOUR more paper clips than the original two. So, in my necklace I used 22 paper clips for the third chain, since the first was 18. Connect it the same way as you did the second.


6. Repeat the same steps as above by connecting sixteen pairs of double paper clips from the center outwards followed by four single paper clips.


7. Style it! Try it on and arrange paper clips that lay awkwardly or add paper clips to where there may be an empty spot. You may have to add or subtract some paper clips from the chains to have it lay best on you.

Of course this necklace would look much higher fashion with all silver paper clips, or at least one solid color of paper clips, but I had to work with what I had! Also, add a few personal touches. If you have some cool beads laying around, string them onto some of the paper clips. If you can find some ribbon, run it through the chains of the paper clips. Necklace cost from the online store where it was found: $15 plus shipping and handling. Necklace home-made and just as cool: $1 from the dollar store and about 20 minutes of your day.

Sunday, October 24, 2010

Mixed Signals.

Over the last few years patterns have become increasingly more popular in fashion. A way to spice up the usual patterned items in your wardrobe is to pair them with other patterns in place of basics. This may seem like a failure in the works, but when you mix patterns correctly they create an awesome look.

One way to mix patterns is to keep the same basic color scheme between the two. In this outfit, we have a black and white flannel worn with a black and white striped skirt. This mixing of patterns works due to the continuity in colors between the two items. 

Another way to mix patterns is by having a smaller pattern mixed with a larger pattern. In this outfit, we have a polka dot print top with a striped sweater. The large stripes balance out the small print of the polka dots.

A final way to mix prints is by having the same shape of the prints. In this outfit we have a mixture of cheetah print and a soft grid looking pattern. Both of these patterns appear as little circles and therefore can be paired together for shape continuity.
There are a few ways that a simple mixture of patterns can go terribly wrong. One thing to avoid is two like prints worn together. For example: one should not mix a floral top with a floral skirt. The difference between prints is what makes them work. Another thing to avoid is clashing colors. When working with mixing prints it is best to stick to neutral colors or pull a color from one print and use it in the other. For example, if you wear a floral shirt with purple yellow and green on it, you can wear a sweater with one of those colors in a print with a neutral.
Trying out a few different mixtures of the prints in your closet will give you different options and  allow you to see which prints work best together of your own.

Saturday, October 16, 2010

An "A" in Fashion.

One of my biggest Pet Peeve’s with college isn’t the annoying schedules, the homework, the professors, or even the cafeteria food. In my mind, there is something more disgusting than synthetic cafeteria food, and it is called college fashion. My outlook on seeing other girls in college wearing sweats to class is similar to that of Cher's from the film Clueless, on the way that boys dress in high school. "I don't get how guys dress today. I mean, come on, it looks like they just fell out of bed and put on some baggy pants and take their greasy hair and cover it up with a backwards cap and like, we're expected to swoon? I don't think so." I hope that we all have a little bit more dignity than that.

It is true that most college kids are broke due to miscellaneous fees in college, but that is no excuse to wear your pajamas to class in place of normal clothes. With stores like Forever 21, Charlotte Russe, H&M, Old Navy, and others, it is a difficult thing to say that you cannot find fashionable things at an affordable, college-student, price.

So, I came up with three comfortable, easy, inexpensive outfits that remain fashionable but still are as easy to throw on as sweatpants and a sweatshirt. Each of these outfits will be paired with these boots:


(Boots: $29.80)

Outfit 1:

(Tunic: $11.80, Tights: $3.50, Cover-Up: $11.80, Earrings: $1.50)
Total Cost: $28.60 (without boots)

Stripes are always fashionable, and the black and white color scheme here is classic. Due to the overwhelming print of the tunic, I chose earrings as an accessory so that there wasn’t an issue of clashing with the print. With earrings, they are far enough away from the dress that they stand out and do not blend in to the rest of the outfit. The striped tunic is made of cotton and spandex, so it will be stretchy and comfortable.


Outfit 2:

(Top: $22, Cover-Up: $15.84, Jeans: $14.50)
Total Cost: $52.34 (without boots)

I based this outfit off of the grey jeans, because they are fashionable due to the change of color from the standard blue jeans. Plus, jeans are the universal comfort pants in college, so this outfit will not be difficult to wear. The soft colors of grey, lilac, and white create a nice color contrast with the boots, and the feminine top balances out the masculine look of the boots. The sweater has a cool design on the back that will allow the purple to peek through when it it worn over it.


Outfit 3:
(Top: $14.24, Cover-Up: $17.80, Skirt: $6.80)
Total Cost: $38.84 (without boots)

This top is wonderful because it consists of so many different colors that all merge well together. That means that you can wear it with a variety of different things of different colors in your closet. I paired this top with a solid, neutral skirt and sweater due to the strong print. The top is pretty yet comfortable, it isn’t very tight and the cinched waist will flatter your figure. 

All of these outfits are essentially made up of only a few pieces, so it will not take long to get dressed and out the door before your first class.

Monday, October 4, 2010

Hand-Eye Coordination.

In the spirit of October and Halloween, it’s time to explain the inspiration behind my blog’s title: Eye For Fashion. “A long time ago, in a galaxy far far away...” better known as Ohio, I purchased the film Mozart and The Whale (for $3!). Upon watching it for the first time and seeing the character “Mozart” in the film sporting several eyeball rings, my love for eyeballs became apparent. On jewelry, that is.
(Movie still from Mozart and The Whale)
If you haven’t noticed yet I am fond of all things weird, especially in fashion. What’s more surprising than shaking hands with someone and looking down to see an eyeball staring back up at you? Not much, unless you’re meeting Edward Scissorhands for the first time.
Although I love the traditional eyeball ring, as seen in the screen shots above, it's difficult to find them outside of Ebay. However, I have spotted evil eye jewelry at several stores such as Boscovs, Macy’s, and the Piercing Pagoda. Eyeball jewelry is especially popular at boutiques, so remember to check out their jewelry section if you are interested in all things weird, too!
Certain cultures believe that the evil eye stone, whose appearance differs a bit from the traditional look of an eyeball, is believed to ward off evil and protect the one wearing the stone. Whether or not you believe this doesn’t make a difference to me; I like to believe that it wards off evil, however, I wear the pieces that I own for fun.
(Multi Colored Evil Eye Bracelet: Boscovs, White: Lucky Lady Boutique, Seaside Heights, NJ)
(Evil Eye Necklace: Shaded Vision Boutique, Point Pleasant, NJ)
From my various attempts to hunt down eyeball jewelry, I have found that the largest supply of eyeball jewelry can be found online. There are several websites dedicated solely to evil eye jewelry, two being www.evileyestore.com and www.loveandlucky.com. Ebay also provides affordable finished pieces or separate eyeball pendants and beads to make your own jewelry. Most often, self-made pieces end up being the most affordable and unique. I fully recommend Ebay for eyeball jewelry due to their vast selection that is constantly being updated. Best of all, they offer bulk prices on select items. Now, that's a deal I can't resist.